![OGT logo-2.png]](https://support.offgridtrailers.com/hs-fs/hubfs/OGT%20logo-2.png?width=150&height=150&name=OGT%20logo-2.png)
Steps to get your new batteries operating:
1. Take the battery cover panel off - OGT Academy Article
2. Take the batteries out of sleep mode - Video
3. Turn on DC breaker - This allows the trailer to draw power from the batteries
4. Turn on AC breaker - This allows the Inverter/Charger to charge the batteries from shore power
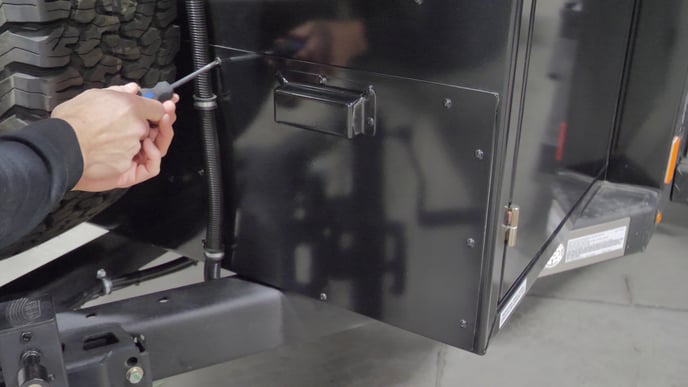
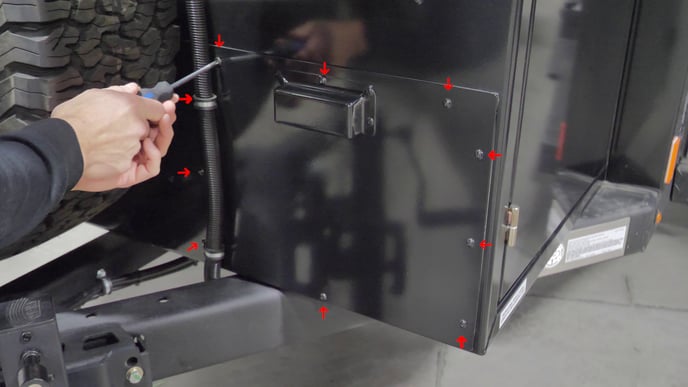
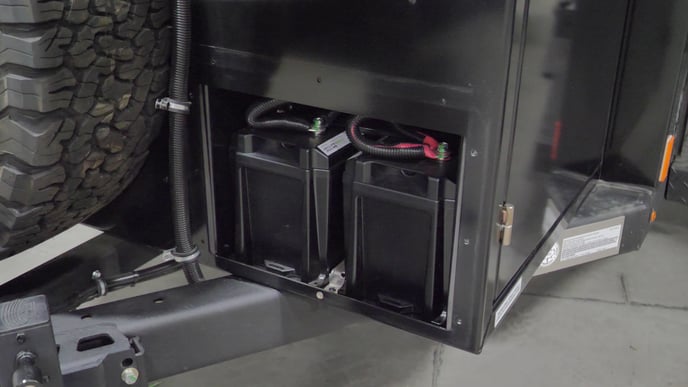
Step 1: Remove Front battery cover panel
Tools required: Philips Screwdriver, Plastic pry tool
Estimated time: 5 minutes
a. Remove all screws as shown in the pictures.
b. Once all Phillip screws are removed, pull cove plate off. The seal could make it hard to pull off, use a plastic prying tool between the cover plate and front storage box.
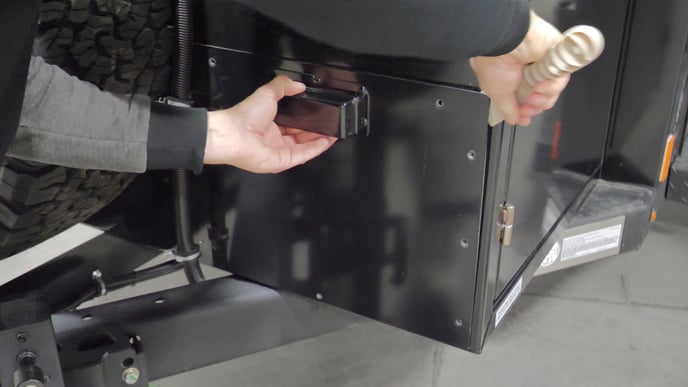
c. Once the cover plate is off, the battery terminals and power buttons (Lithium only) can be accessed.
Step 2: Take batteries out of sleep mode and connect to GoPower App
Follow the steps in the video below for instructions. Note that you do not need to connect the GoPower app to the batteries to use the, however is recommended to in order to see the details and diagnostics of your Lithium batteries.
Step 3: Turn on DC breaker by pushing the yellow switch.
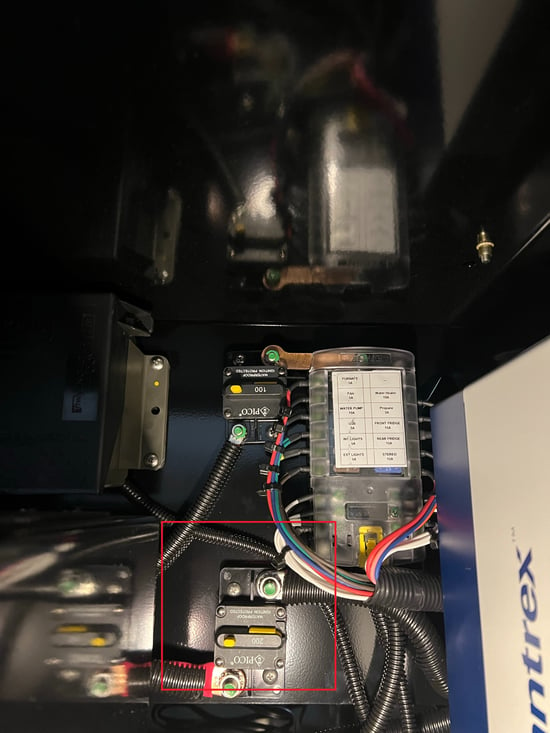
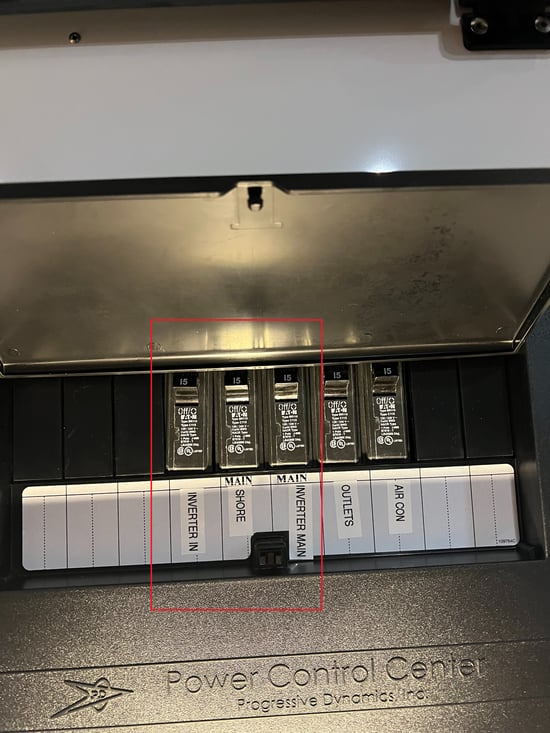
Step 3: Turn on AC breaker by flipping the breakers on the electrical panel on the inside.