Checklist: Tools needed for maintaining your Off Grid Trailer
Nice to have and must haves when it comes to tools and fasteners when going off grid!
One of the most common inquiries I get when it comes to these trailers is regarding what tools people need to remove/replace an item or to do the scheduled maintenance checks from the owner's manual.
This article will document what you absolutely need in order to stay safe on the road, and also some handy extra tools and tips and tricks when it comes to installing and removing what can be stubborn fasteners.
Here's my list of must haves:
- 19mm or 3/4" deep socket, thin wall, 1/2" drive. These sizes are equivalent! Every fastener has an "across flats" measurement, and there is some tolerance there, so a few wrench sizes carry across. This socket will either fit directly on to the lug, OR you will need the spline drive socket adapter that is furnished with your trailer. Make sure you check your gear bag for the spline adapter if you have the splined lug nuts - if you need another or if it is not there, contact warranty@offgridtrailers.com and we can send a replacement.
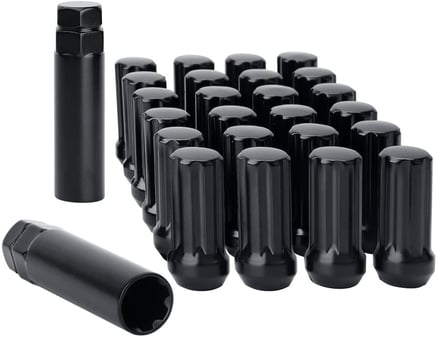
Splined lug nuts, note socket adapter
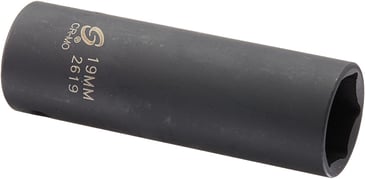
19mm thin wall socket
- 1/2" drive breaker bar. This tool can be substituted by an electric wrench, but a breaker bar is always handy to have as a backup and has unmatched utility when it comes to tightening any fastener, including those on the tow vehicle.
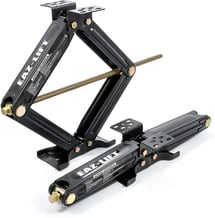
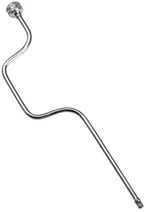
- The Eaz-Lift jacks are best operated with a speed handle (not included,) or you can also use your breaker bar. The wrench size is 19mm - so you can make use of the same socket you use for your lug nuts.
- If you have an older trailer, the spare is retained to the front storage box by long 3/8" bolts with washers under their heads. If you find this is the case, you will need a 9/16" socket, 3/8" or 1/2" drive to remove these bolts so you can access the spare! Newer trailer spares are retained by the same fasteners that hold the wheels on the trailer axle - which is good as this way you also get 4 spare lug nuts!
- Philips head screwdriver - PH3, PH2. These tools will drive the myriad stainless steel and black powder coated fasteners used to fasten items across the trailer - cabinets, hinges, the battery box. You'll always want to select the largest driver that fits the head of the screw. What I heartily recommend is investing in impact rated bits. These have the greatest torque carrying ability and you can use them with a 1/4" drive ratchet system, a bit holder, or an electric impact driver.

PH3 impact rated bit
Nice to haves:
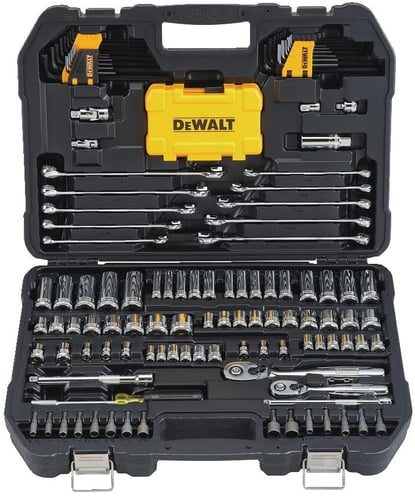
- Complete tool set, portable. These are often on sale at your neighborhood hardware store
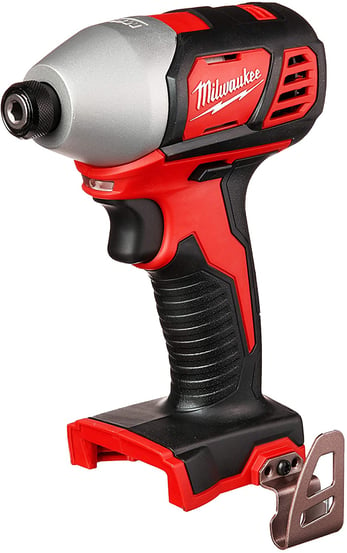
- Impact driver. The best on the market at this time in terms for value for dollar (2021,) are the Milwaukee tools. You can buy what you need a la carte, the driver below has what is considered a '1/4" hex drive' and will accept directly the philips bits mentioned above. With a socket adapter, you can use 1/4" and 3/8" sockets, deep and shallow, even up to 1/2" drive sockets if required. I usually break larger fasteners loose with the breaker bar, then you can switch over and either spin out/off the bolts or nuts, and then zip them back on during reassembly, doing final torque by hand. This driver will also run your jacks up or down until they are close to earth, and then again you can carefully raise the unit with the speed wrench or breaker bar.
- Specialty tools for tightening the Timbren suspension mounting: a 1 1/16" hex socket for the 5/8" Grade 8 fasteners that mount the suspension to the frame, with a 1 1/16" combination wrench to hold the bolt in place. For the outboard arm to control arm bolts, a set of 7/8" or 3/4" wrenches are required.
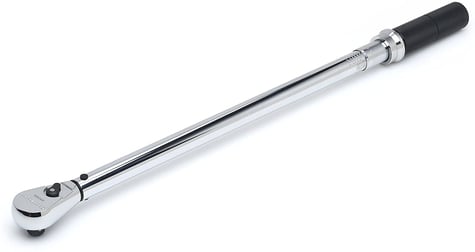
- A 1/2" drive torque wrench - good for wheel nuts, Timbren fasteners. ~30-250 lb-ft capacity.
On fastener locking compounds
Many fasteners on the trailer, especially 1/4" diameter fasteners (with the PH3 heads,) have the threads coated in blue thread locker at the factory.
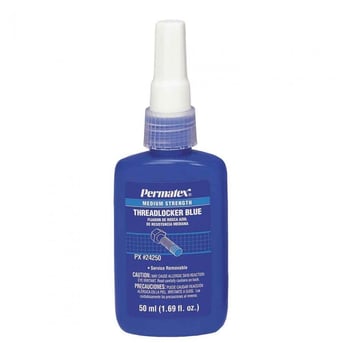
Just as its name implies, this product locks threads. It hardens when in the absence of air and when exposed to the ferrous materials in the fasteners - taking up gaps between threads such that the fastener is much less likely to loosen with vibration and other loads. Because this product is present, it is much more difficult to remove the 1/4" screws and other fasteners than it would be otherwise. The impact driver, when set on maximum torque in reverse, is the best way to remove the philips heads screws, for example those retaining the battery box. When reassembling the parts you've taken apart it is a good idea to clean up the threads with a wire wheel or brush, as much as possible. I often then clean the threads with brake parts cleaner, and apply a drop or two of thread locker before reinstalling.
This article is subject to additions and changes, so come back and check it out from time to time as you maintain your trailer and plan your trips. If you find any errors or omissions, and if you have any more questions, please email me at: warranty@offgridtrailers.com.
Thanks for reading!
The OGT Technical Support team
![OGT logo-2.png]](https://support.offgridtrailers.com/hs-fs/hubfs/OGT%20logo-2.png?height=50&name=OGT%20logo-2.png)